Hardinge Radius Turning Tool Model #C

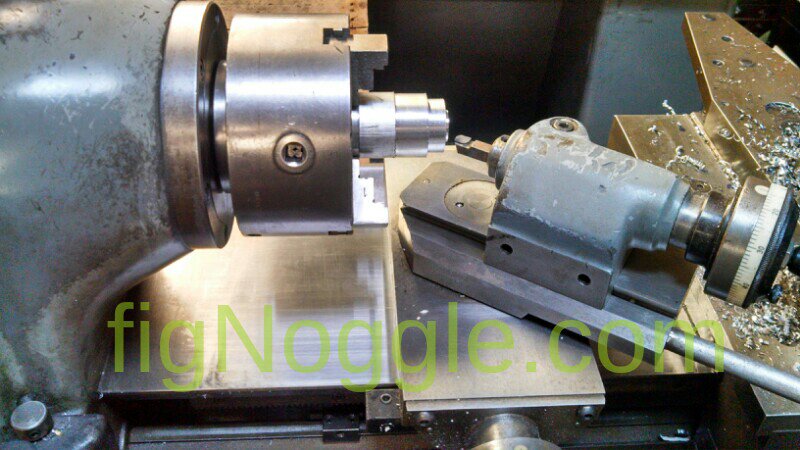
We just recently acquired a Hardinge Radius Turning Tool!

image

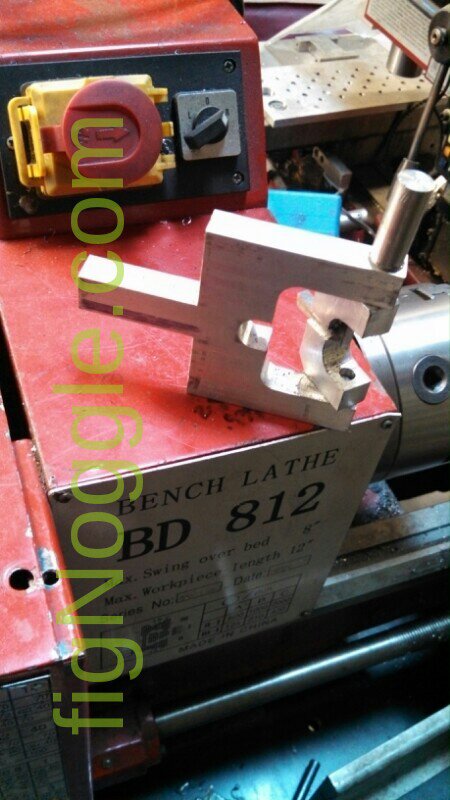
Compared to our homebrewed-in-a-jiffy radius turning tool for our 7×12 and 8×12 lathes, its a work of art! It is, afterall, a Hardinge product :)

image

Can you tell the difference? ;)

We had to gamble a bit on this since there are at least two different sides to accommodate the width of the bed. Since most people don’t know the difference (like us), they only post that it’s a “Hardinge Radius Turning Tool Model #C”. But as we came to find out, there are some differences indeed. This nice gentleman scanned and posted the Hardinge D14 and L9 radius turning tool manualfor us all to peruse.

We will post another article once we put this to use.

How NOT To Remove A Lathe Chuck

Well, it finally happened!

We’ve crashed machines, tools and such and luckily have never had it be catastrophic. While the EGO was hurt, that was about it.

Here’s a video clip of a 60# lathe chuck spinning at 1,000 RPM come loose and spin off the spindle, lathe bed, and vault onto the ground. Quite an interesting sight to see. More so to experience.

Mori-Seiki MS 850 / 1050 / 1250 lathes weighing in starting around 4-5,000 pounds makes this quite the little beast of a machine. Built to last is an understatement. Since this lathe has already been pretty badly crashed in the past leading to a broken high/low shifter gear fork and compound slide, we didn’t feel as bad as we could have had it been a “new” lathe with no major damage already to it. Still, it was a bit embarrassing… :(

Well, enjoy the video!

So, if you have a lathe spindle with a threaded collar L-00 or such, make sure to make some witness marks on the collar and chuck and inspect every once in a while – ESPECIALLY if you accidentally throw the machine into reverse just after going in the “forward” direction. OUCH!

Hardinge 30AHC Chuck Disassembly and Cleaning

This is a test of a remote ie via mobile phone post with pictures of the disassembly and cleaning of a scroll Chuck. There are a few tips you’ll find useful!

image

This is the aftermath of chuck removal and taking apart if the 5″ 3-jaw scroll chuck.

The first thing to do is to remove the jaws but before that you may want to mark the jaws to the chuck either by stamping or writing it down with a sharpie marker. Dykem markets are pretty nice too since they’re paint markers.

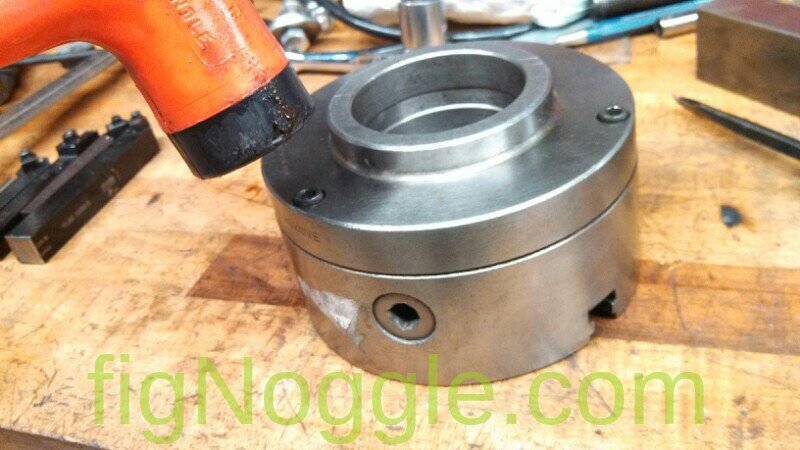
Once the jaws are removed just undo the socket head cap screws a wee bit and then place the chuck face down and tap the top of the bolts until the chuck body and mounting plate become slightly separated.
image

Now you can operate!

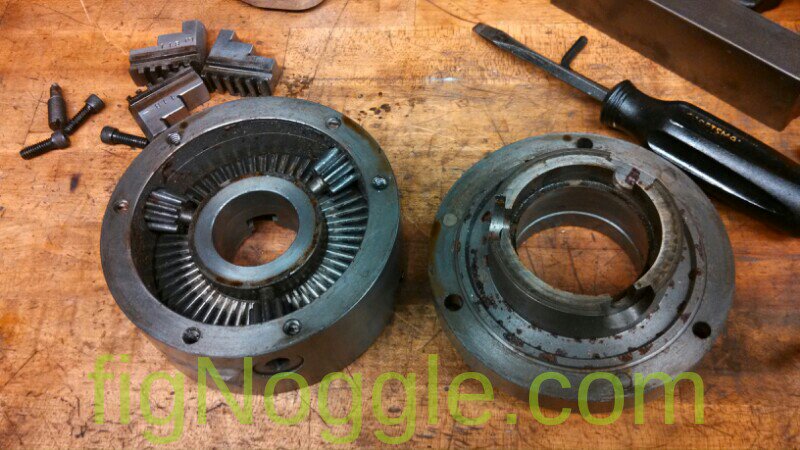
You may have to use a screwdriver prying it apart but do it gently!. Oh yes and you may also want to make witness marks registering the two halves before you separate them.
image

Once the halves are separated you can begin work on removing the opinion gears. Each gear has a capture pin. Just unscrew them out.
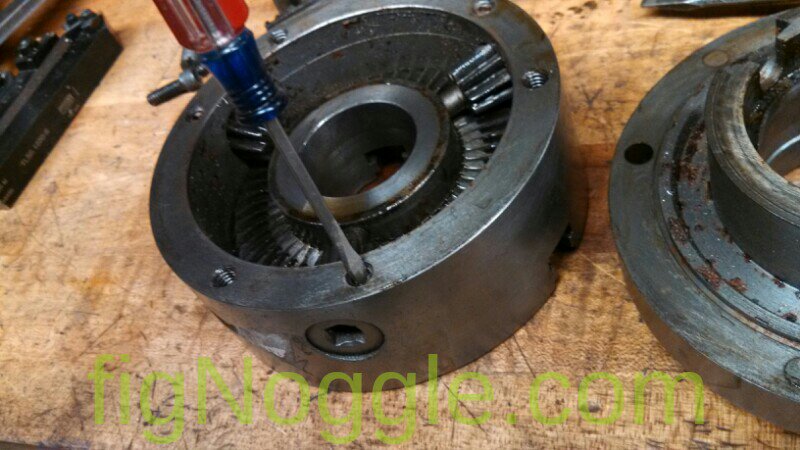
image

At this point if you’re lucky enough the gears will just slide out. If not you may have to drive them out. We use a brass pin since the gears are not hardened.
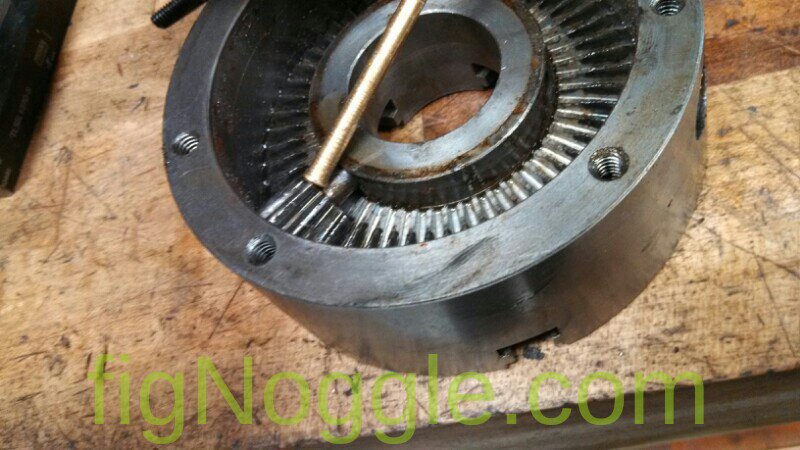
image

That was easy! Removing the scroll itself may be more difficult. Cross your fingers!

With the chuck body face up, use your brass pin to slowly drive it out. It’s a close fit and you may want to lube up the scroll and body before proceeding. Drive out the scroll if you can’t push out but do this carefully and gently!
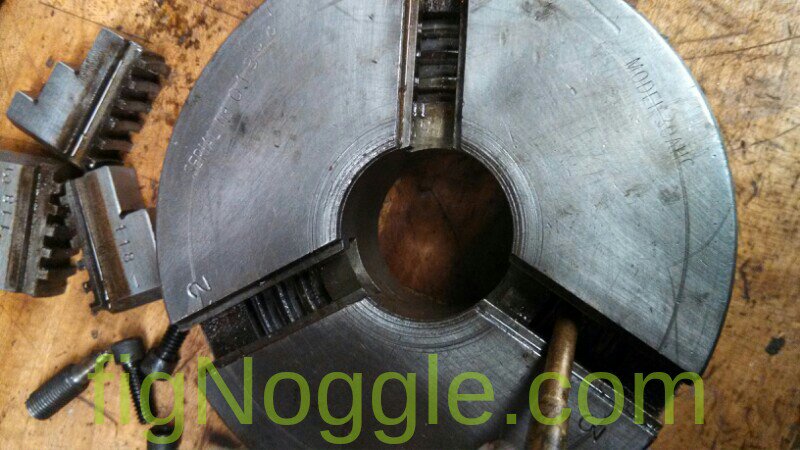
image

That’s all there is to it!. Clean it all up and be sure to grease or oil.
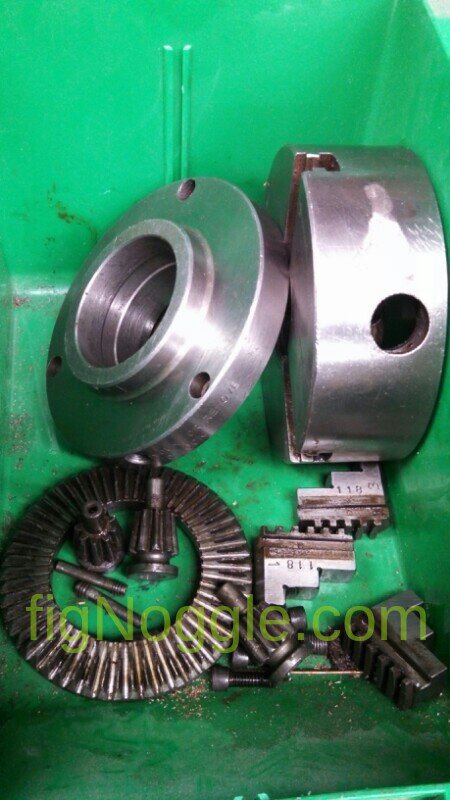
image