
Copyright 2011. figNoggle Designs.
7x10, 7x12, 7x14 Mini-Lathe Information
Website Links
Post a link to your website or view other hobby and machine and metalworking websites for free.
Rent Mill & Lathe DVDs at Smartflix | Great aluminum & steel prices at OnlineMetals
WORKHOLDING AND TOOLHOLDINGThis is fast becoming one of the more interesting areas of machining for me. When you first get started, chucking a workpiece in a vise is all it takes to machine your part. However, when you start getting into machining via CNC, it gets a bit more complicated (and more interesting)... We've broken this section down further to include the following:
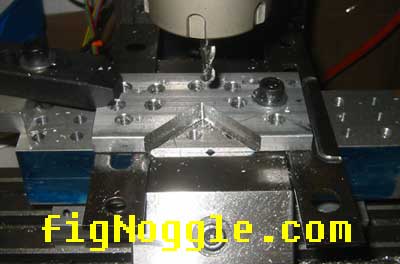
What you see in the above pictures are the first trials at CNC workholding and fixtures and jigs. Now, we get a bit more involved.
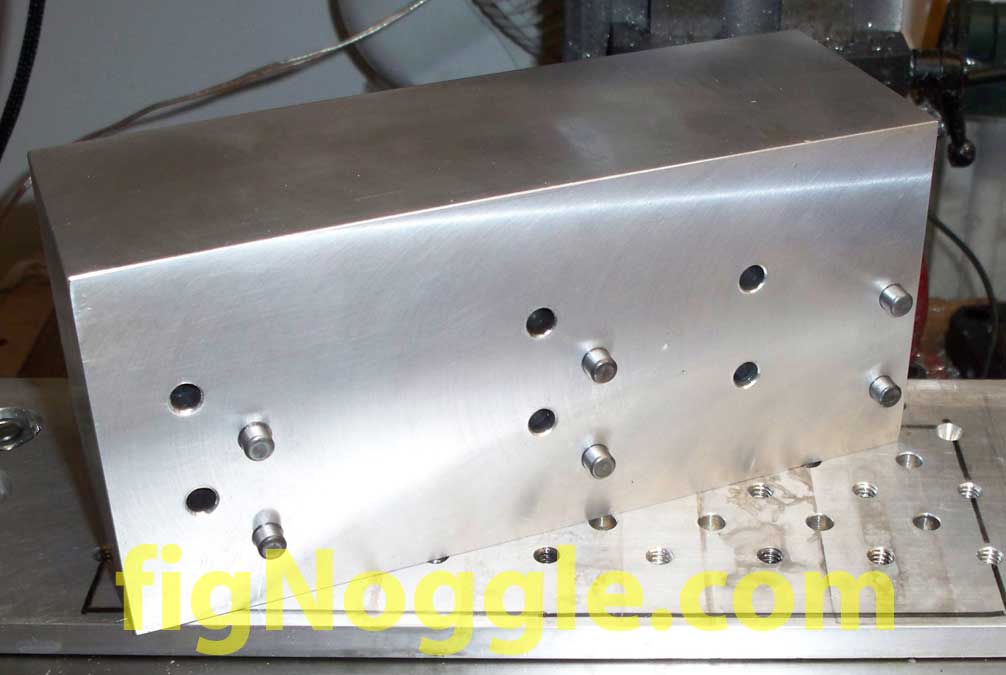
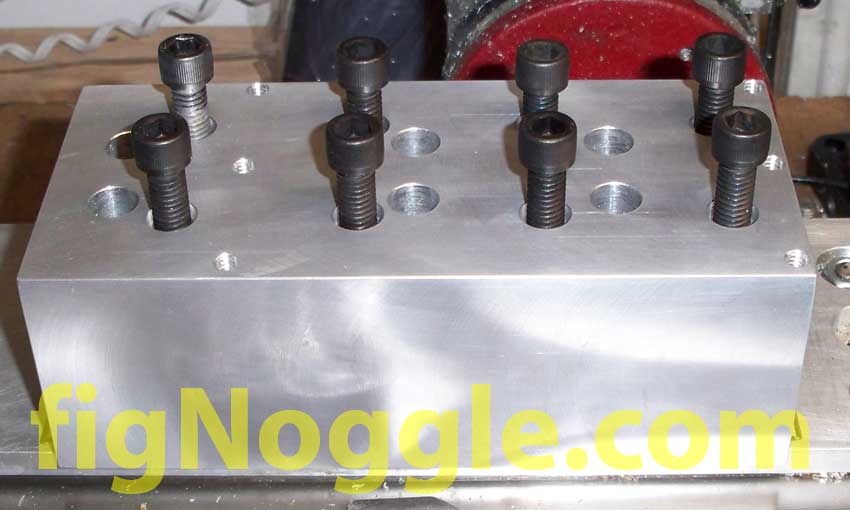
As we have mentioned before, we really do put our own CNC-converted X2 mini-mill into production use. Here we show pictures of our new ACME leadnut production jig. It's made of a block of aluminum that's been nicely flycut and finished for use with our X2 mini-mill tool . Due to the work envelope of the X2, we could place only four sets of ACME leadnuts (X and Y axes) on the block. Here the block is on its side showing you the through bolt holes and the .250" dowel pins for location on the fixture plate:
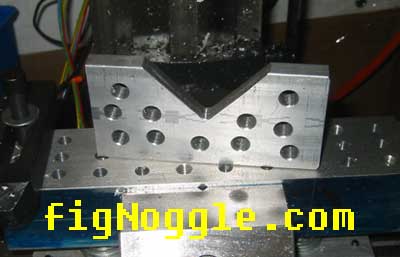
The "brick" really didn't need to be this thick, but we used leftover stock for this project. Now, we flip the jig over, locate it using the dowel pins and then secure it to the fixture table. Note the clean surface of the jig. It'll look different after the first run. The other smaller six holes are to mount the stock material (as you'll see shortly):
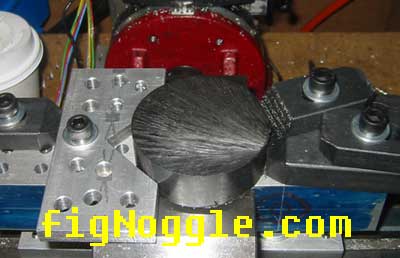
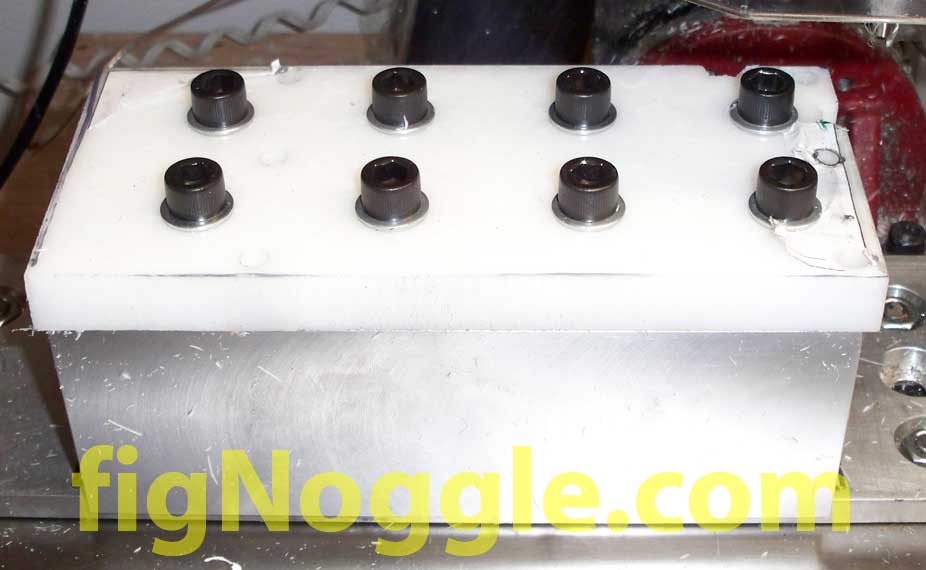
Next, we place the material stock on the brick jig (in this case, it's acetal/delrin):
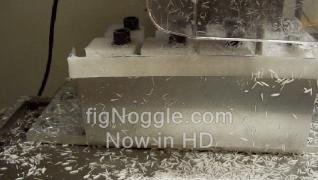
Because the jig is mounted on the fixture plate at 1" increment spacing, it's easy to know where our CNC G-code will start either in workpiece or machine origin. Using our "quick-origin" system on the plate also gets us to within 0.001" positioning accuracy if we ever have issues with our chinese scale DRO system (and we often due with the dieing batteries causing our readout to read 0.00" and do nothing more until we put in new batteries - yes, we'll need to get these scales powered by another source, a more reliable source). Back to the jig! Here's a re-formatted 720p high definition video of 30 second-length showing the contouring of the nuts. Click on the image to see the video (better yet, just right-mouse click, save-target-as, and download the video to your computer and view it there.)
And finally, the end result. We have 8 individual ACME leadnuts - 4 X-axis and 4 Y-axis. After running the drill routine, tapping in 5/8" ACME and slotting, we have ACME leadnuts for our kits and special order for your projects.
Wait until we update this page to show the jig for the X3 and RF45 mills... You'll see a small army of production ACME leadnuts! Buy ACME kit for your X2 mini-mill for improved accuracy Buy ACME leadscrew conversion plans for your own conversion Download your FREE X2 fixture plate
|
||||||||

Looking for mini-mill help and how-tos? How about lathe help and how-tos?
We're prototyping a benchtop CNC vertical mill using the DigiSpeed-XL interface card for Mach, Dart Controls and KB Electronics KBIC/KBMM 90VDC motor controllers, 1.5HP treadmill motor from Surplus Center and a R8-spindle head from the X2 mini-mill - not to mention Gecko servo drives and an entirely closed-loop system. Come take a look!CNC 8x12 Lathe
Check out our newest developments like the CNC/DRO 8x12/8x14 lathe using Gecko drives, break-out board, NEMA 34 step motors, DRO and more!
SUPERX3.COM
Sieg X3 and Super X3 Grizzly G0463 Info
MDAHacks.com
T-Mobile MDA / Cingular 8125 / HTC Wizard Hacks, Tweaks, Tips, Tricks and More!
Metal Working FAQ.NET
Your source for metalworking and machining, tips, tricks, and more. Over 50 content wiki sites!