Copyright 2011. figNoggle Designs.
7x10, 7x12, 7x14 Mini-Lathe Information Website Links
Post a link to your website or view other hobby and machine and metalworking websites for free.
|
|
Rent Mill & Lathe DVDs at Smartflix | Great aluminum & steel prices at OnlineMetals
SIEG X2 MINI MILL
- MINI
MILL HOME
- DRO
- CNC V1 - CNC V2
- STUFFMADE - REDUX
- HOW-TOS
Stuff Made With The Mini-Mill
here's some stuff made with the cnc
machine. maybe some manual creations are here as well.
| this is only a test.. |
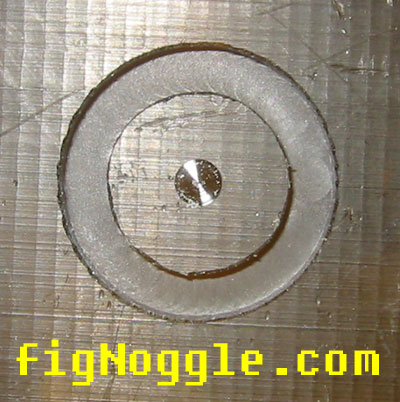
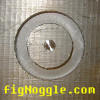
| here's the resulting circle contour milled after both the x and y axes
nuts were modified to reduce backlash. MUCH better than before this had been done. |
 |
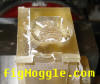
| 3D |
| the first 3D milling operation. a quick rough and finish with little
stepover. it's a 1/2" diameter "dome". watch it being machined |
 |
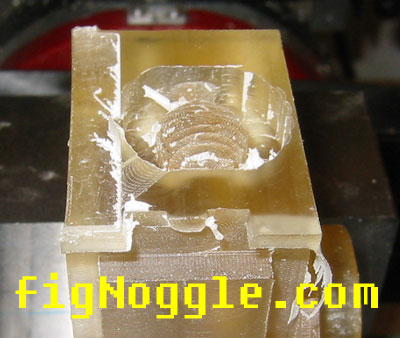
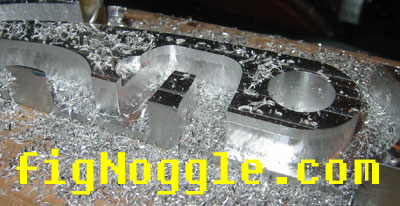
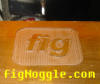
| "signage" |
| using a 1/16" dia. 4-flute, contoured and pocketed some text in a box. |
 |
| i'm removing more material. now it's more like a stamp. watch it being machined |
 |
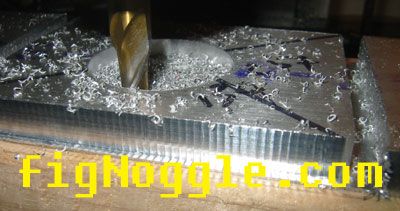
| first aluminum cuts |
| 1st cut in aluminum. 3/8" dia. 2 flute endmill. it's 1/2" thick aluminum.
what is it? i don't know. it's a doodad. |
 |
| note the "oops". each pass was 0.01" as a test and during the y-movement
(with a feed rate of 24 ips), it dug into material and then stalled the
stepper. watch it being machined |
 |
| here's the final part. the material was not sufficiently secured to the
base. during the last pass as the part became parted from the stock, the
part came loose and an emergency stop was made. it was "secured" using
double-sided tape. the clamps clamped both ends of the stock, but as the
part is machined, it no longer is secured by the stock. problem. |
 |
| a real part being made. the x-axis motor mount. |
| old (then-current) x-axis motor mount. this is the one in the cnc page. |
 |
| here i'm setting the origin. really, there should be an origin somewhere
off the part. |
 |
| cutting half way through. watch the pocket being
cut |
 |
| just before the final fillet and parting from the stock. watch the fillet being cut
and the "dancing chips" |
 |
| completed fillet. note that the part is clamped to the base |
 |
| completed x-axis motor mount |
 |
| old versus new. |
 |
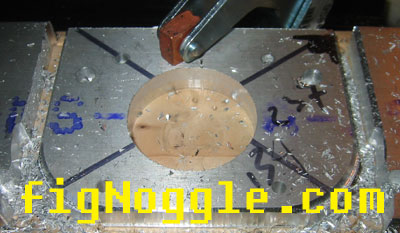
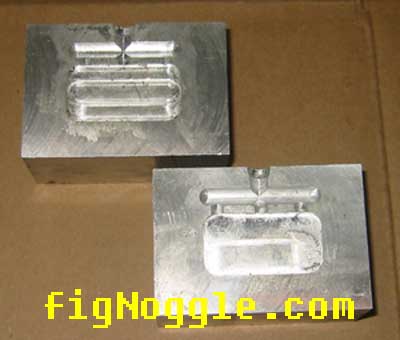
| here's a quicky mold |
| this was to make a quick part. used hot-glue gun glue
to prototype the part. works great if the part can be flexible.
this was machined manually. with CNC, the part can be machined with
complex contours (and 3D). |
 |
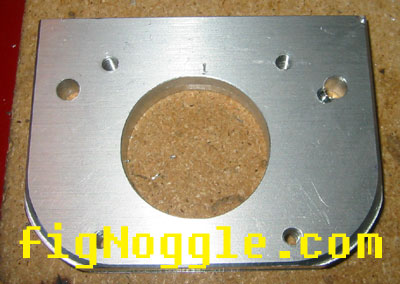
| camera holder |
| this is a camera holder for smaller digital cameras. this is version 1.
version 2 has more articulating pieces (and will be made via cnc).
version 1 was just a prototype and was milled (even with the articulation
that's not shown manually). |
 |
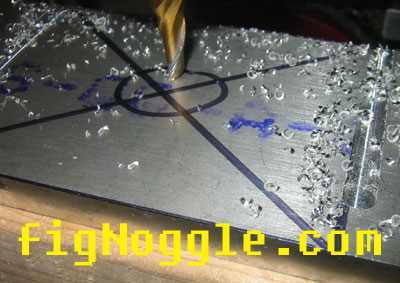
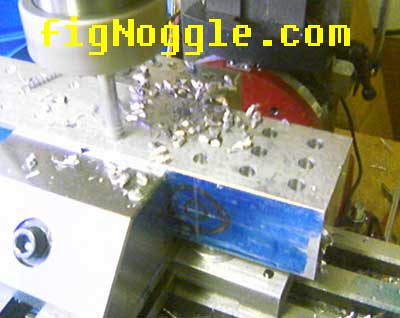
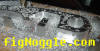
| cnc mounting base (aka "clamp base") - there was a scrap piece of aluminum stock that was an
ok size for holding down small parts like the acetal nut that's being tested. a
series of 5/16"x18tpi holes are being drilled and tapped (it's the same
size as the step block set used with the phase2 horizontal rotary table). actually, the tapping part was done
manually so to save time, only holes that needed to be tapped were at the
time.
all holes were center drilled and drilled 1" deep with an "F"
machine screw bit chucked in the er collet.
can you imagine drilling this series of holes (30 in total) with this
precision? that's a lot of work.
during one of the hole drills, the motor stalled and an emergency stop
had to be made. it's time to hook up the motor to driver board and mach so
that should the motor stall, mach (or whatever other controller software)
will stop as well. more on this procedure later.
another workholding jig (a "v-plate")
was made as well. |
| here's the clamp base being drilled.
thinking of also adding a timed
air-spurt to blow off swarf and immediately after, inject a droplet of
tapping fluid onto the bit. btw, the lps tapmagic "gold" is pretty good
stuff. stinks like you wouldn't believe - a cross between
eucalyptus/menthol and burning gases.
definitely a good idea to work in a ventilated area.
in the past, wd40 was used to lubricate (since it was there and was in
aerosol form), but now only tapmagic is used. |
 |
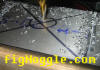
| here are the 30 holes drilled. nice and even - the entire process took 30
minutes or so.
used a peck/drill at depths of .1 per peck plus .25"
retracts off the top of the workpiece is roughly 1 minute/hole. |
 |
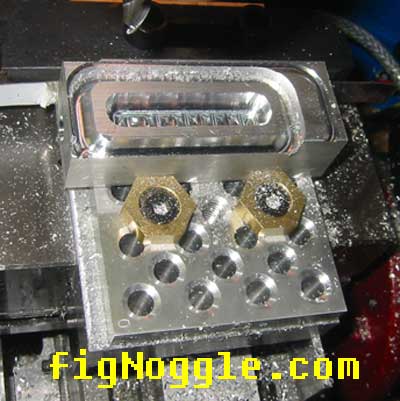
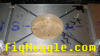
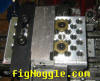
| here is the acetal block clamped and ready for cnc milling. |
 |
| the machine returned to these coordinates after this entire procedure.
it's great to see that a cnc-converted
mini mill bought for under $500 can do this kind of work - very
impressive! this is a machine capable of doing small production work.
we're working on getting a super x3 from sieg
and converting that as well (given logistics and costs involved by going
direct, we may end up buying from grizzly after all). it would be great to
have the parts cnc machined using the X2 for the X3.
x axis - acetal
nut/acme screw
y-axis - ground ballscrew/standard ballnut
z-axis - ground ballscrew/standard ballnut |
 |
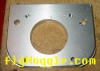
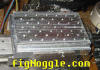
| mitee-bite clamp base
this is similar to the
above base, but is going to be tapped for 3/8"x16. |
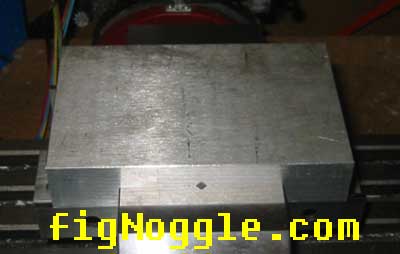
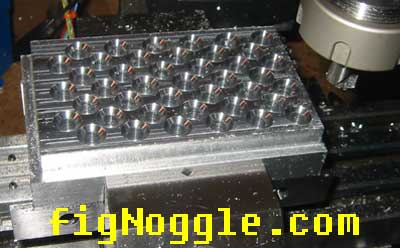
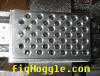
| here's a piece of ~5"x3"x1" al stock for use with smaller parts and mitee-bite clamps |
 |
| after a .100" face cut, the contour of 5"x3" is cut, then the holes are
center drilled. |
click to see video |
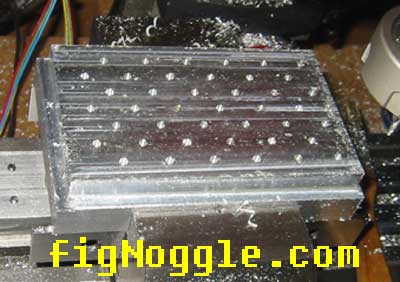
| the holes are center-drilled. again, imagine doing this manually! |
 |
| the holes (42 of them) are peck drilled 1" deep with
a 0.05" peck and a 7ipm feed and ~800-1000rpm so as to avoid stalling the motor (which
happens when chips get lodged).
this would
have been a good time to have liquid cooling and lubrication. standing in
front of the machine for close to 45 minutes clearing chips and squirting
tapmagic cutting/tapping fluid wasn't all that fun.
in fact, anticipating a gear break, motor stall,
lost step was enough to keep you at arm's length from the ESC button!
watch it being drilled and surfaced with a
flycutter. |
click to see
video |
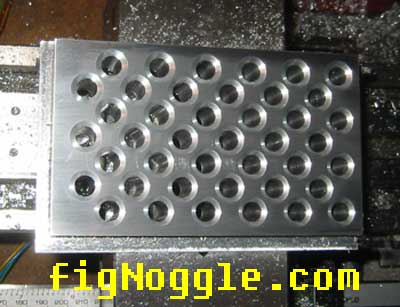
| the holes have been chamfered using a 1/2" spot drill |
 |
| after flycutting the face of the plate, it was sanded
smooth with 400 grit wet/dry paper under the weight of a right angle
block.
all that's needed is to push and pull
the block. no need to press down since the weight is evenly distributed
across the face of the plate. |
 |
| here's what less than one minute of sanding produced.
this will work.
btw, as we did earlier, holes will be tapped as
needed. imagine tapping 42 holes in this workpiece manually!
this would be a good time for a tapping head or
the superx3. |
 |
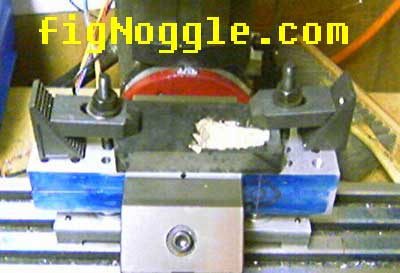
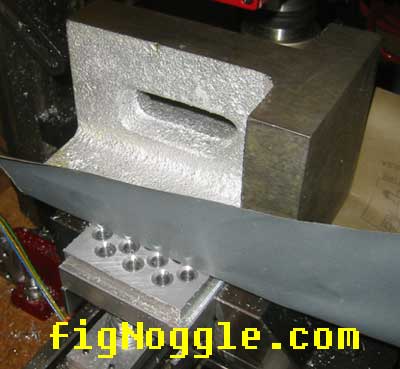
| now, the real test is a small 1" square bar held
in place with two mitee bite clamps.
will it
hold? |
 |
| yes! this was a simple contour/pocket at a depth of
0.25" with a 1/4" 2-flute ball end mill, 0.02" depth of cut (doc) at 15
ipm and ~1000-1200rpm! |
click to see
video |
| the final test part.
the workpiece didn't move at all. these mitee-bite cam action clamps are
great!
now it's time to make a real clamp plate with
strategically placed holes for more flexible clamping. |
 |
|
|

Looking for mini-mill help and how-tos? How about lathe help and how-tos? We're prototyping a benchtop CNC vertical mill using the DigiSpeed-XL interface card for Mach, Dart Controls and KB Electronics KBIC/KBMM 90VDC motor controllers, 1.5HP treadmill motor from Surplus Center and a R8-spindle head from the X2 mini-mill - not to mention Gecko servo drives and an entirely closed-loop system. Come take a look!CNC 8x12 Lathe
Check out our newest developments like the CNC/DRO 8x12/8x14 lathe using Gecko drives, break-out board, NEMA 34 step motors, DRO and more!
SUPERX3.COM
Sieg X3 and Super X3 Grizzly G0463 Info MDAHacks.com
T-Mobile MDA / Cingular 8125 / HTC Wizard Hacks, Tweaks, Tips, Tricks and More!
Metal Working FAQ.NET
Your source for metalworking and machining, tips, tricks, and more. Over 50 content wiki sites!
|